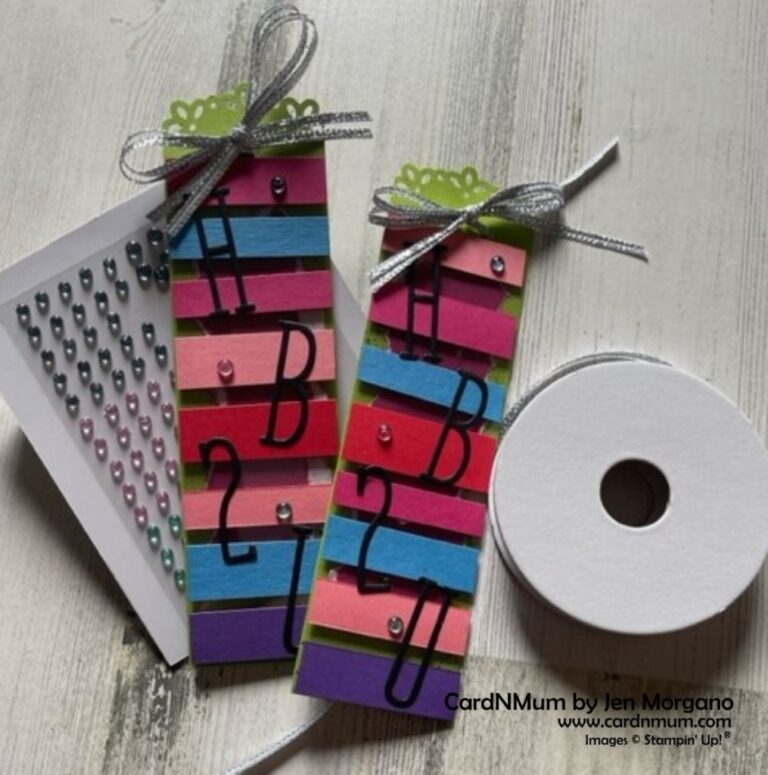
Cottage Wreaths Tag
As a Stampin’ Up! demonstrator, one of the biggest perks (in my little ol’ opinion) is the ability to see new catalogs before they go live. I recently got to check out the new September to December Mini Catalog – I usually refer to this catalog as the holiday catalog. It’s got everything a paper-crafter needs for Christmas, Halloween, and New Years (plus others).
I sort of missed the whole Christmas in July train this year, so I thought maybe I’d do, Holidays in August – haha. I know it doesn’t have the same ring but seeing the new catalog really got me in the spirit.
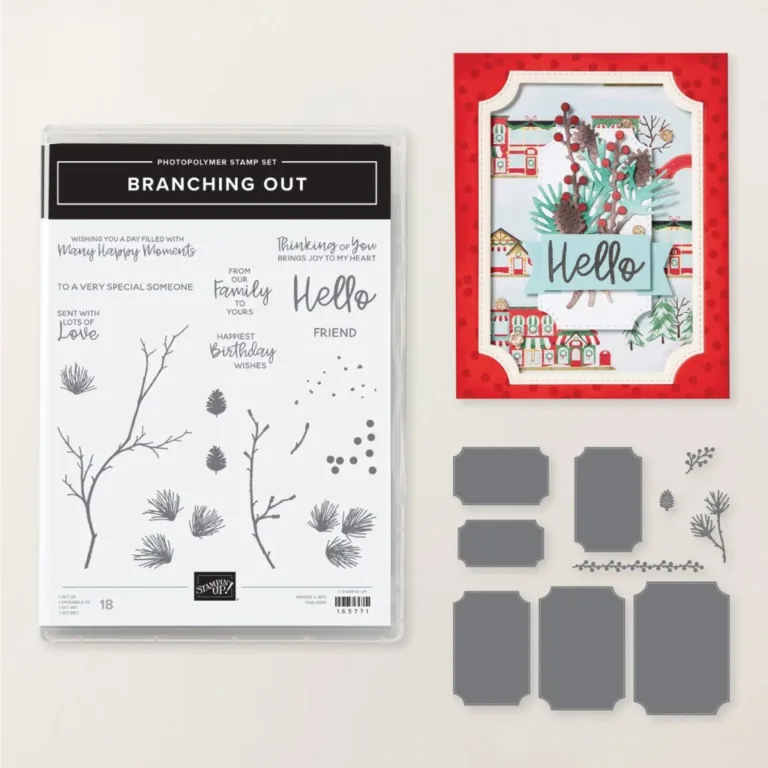
Because I don’t have any new products in my hand yet, I’ll share some holiday products available right now. This week, I’ll use the Cottage Wreaths stamps and Country Wreaths dies:
To make this project, you’ll need the following supplies:
- Cardstock/Paper: Basic Gray (3” x 6”, scored at 3”), Basic White (2 pieces at 3” x 3”, scrap at least ¾” x 2”)
- Ink: Basic Gray, Moody Mauve
- Basic Tools: Snips, Trimmer, Adhesives (Glue, Glue Dots, Dimensionals)
- Additional Tools/Supplies: Merry Melody 3D Embossing Folder, Very Best Trio Punch, 2” Circle Punch, Sparkle Gems, Textured Ribbon in Moody, Mauve, Take Your Pick Tool, Stampin’ Cut & Emboss Machine (Regular)
- Stamps/Dies: Cottage Wreaths Stamp Set, Country Wreaths Dies
To make this project, follow these steps:
- Emboss the 3”x 6” piece of Basic Gray using the Merry Melody 3D Embossing Folder. Punch out the corners on the tag using the decorative edge on the Very Best Trio Punch. Using the ribbon hole on this punch, punch out a slot on the top of the tag.
- Stamp a wreath image on one square of Basic White using Moody Mauve ink. Without re-inking, stamp this image again. Cut out the full-strength wreath using the coordinating die. Punch out the half-strength wreath using the 2” circle punch.
- Stamp the Merry Christmas sentiment on the strip of Basic White using Basic Gray ink.
- Adhere the 2” circle on the inside of the card (you can use this as your “To/From” panel)
- Cut a banner into the end of the Merry Christmas and using a glue dot, affix this banner to the wreath (I stuck it behind so it appears to pop through)
- Using Dimensionals, affix the wreath to the front of the tag.
- With a 6-inch piece of Moody Mauve ribbon, tie a knot in the top of the tag
- Using the Take Your Pick Tool, affix a few Sparkle Gems to the tag front to finish it off.
It’s sort of a quick project. Here are the products that I used:
Product List")


 Circle Punch")


 Textured Ribbon")


Thank you so much for stopping by and taking a look at my projects. I’d love to see yours so feel free to drop them in the comments.
Don’t forget to enroll in the Stampin’ Rewards program to build up discounts on your next purchase.
Here are links to my other social media sites – I’d love for you to follow me there, too!
Join my Facebook group
Follow me on Instagram
Follow me on Pinterest
Have a great day – and I hope you get to do something crafty!
Thanks so much for looking! I hope you have a happy, crafty day!
Please subscribe if you like what you see: