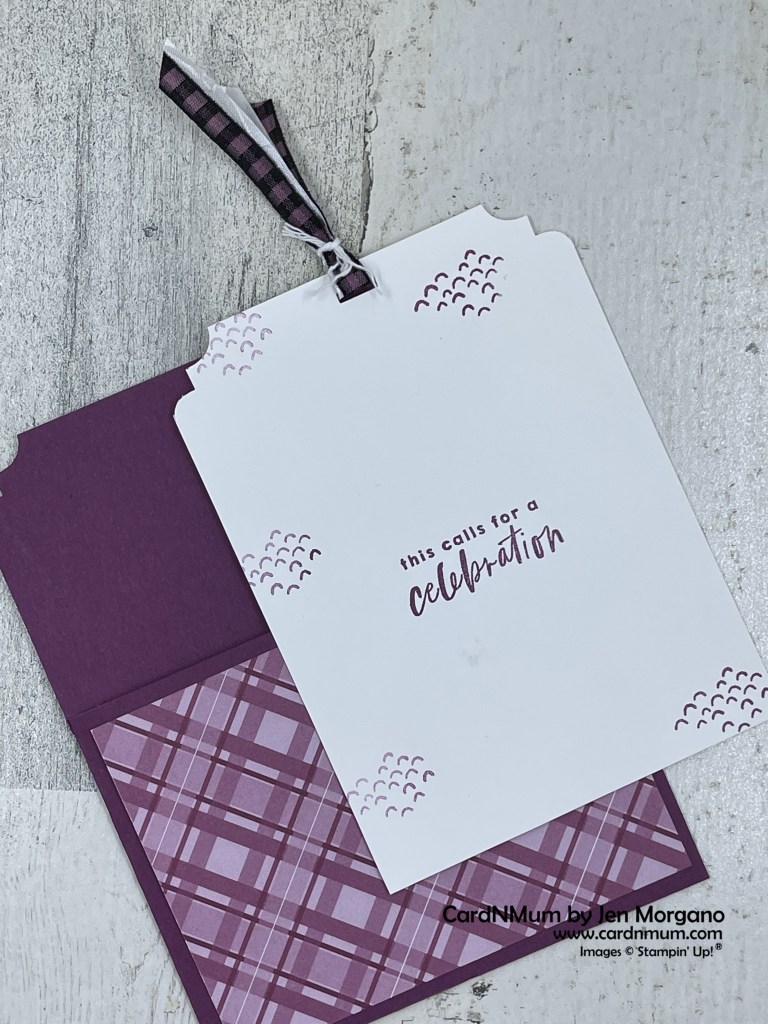
Cheerful Daisies Birthday Card
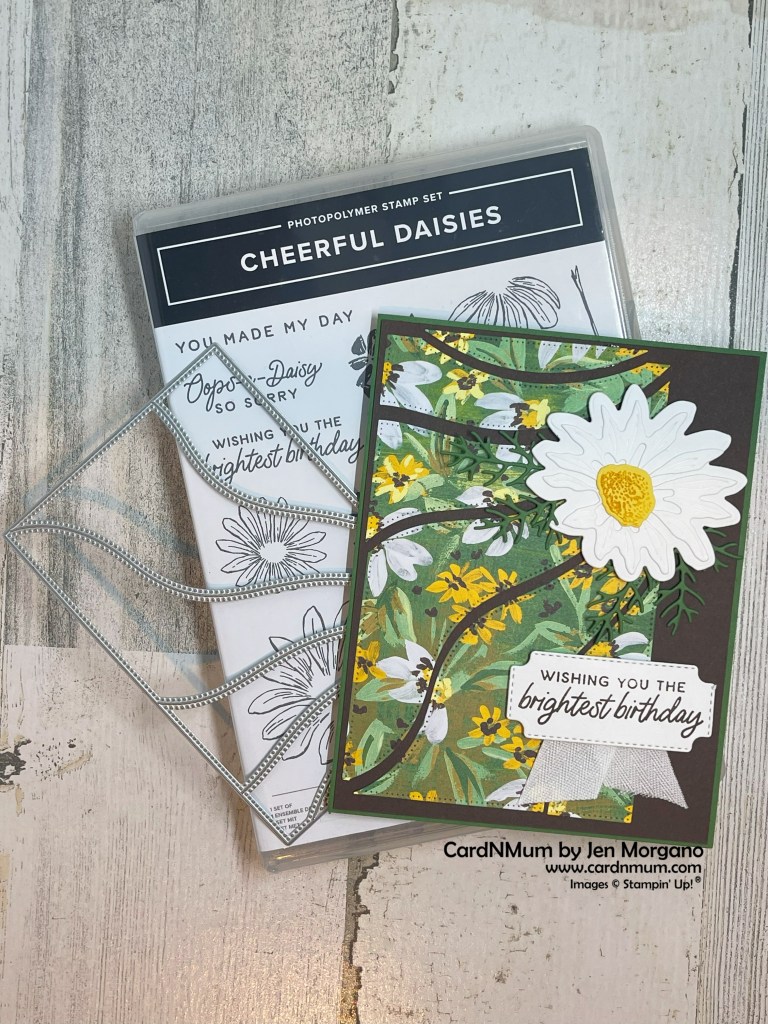
Hey – when a product collection is great, you keep using it, right? So here’s another card using the Fresh as a Daisy Suite Collection. I paired it up with some hidden gems from the catalog – the Patchwork Pieces Dies.
If you look through the catalog, starting around page 161, you’ll find all of the dies that are available right now. Some coordinate with stamp sets – but some don’t. You might not notice these. Go take a look- there’s a bunch this year. Here are the Patchwork Pieces dies:
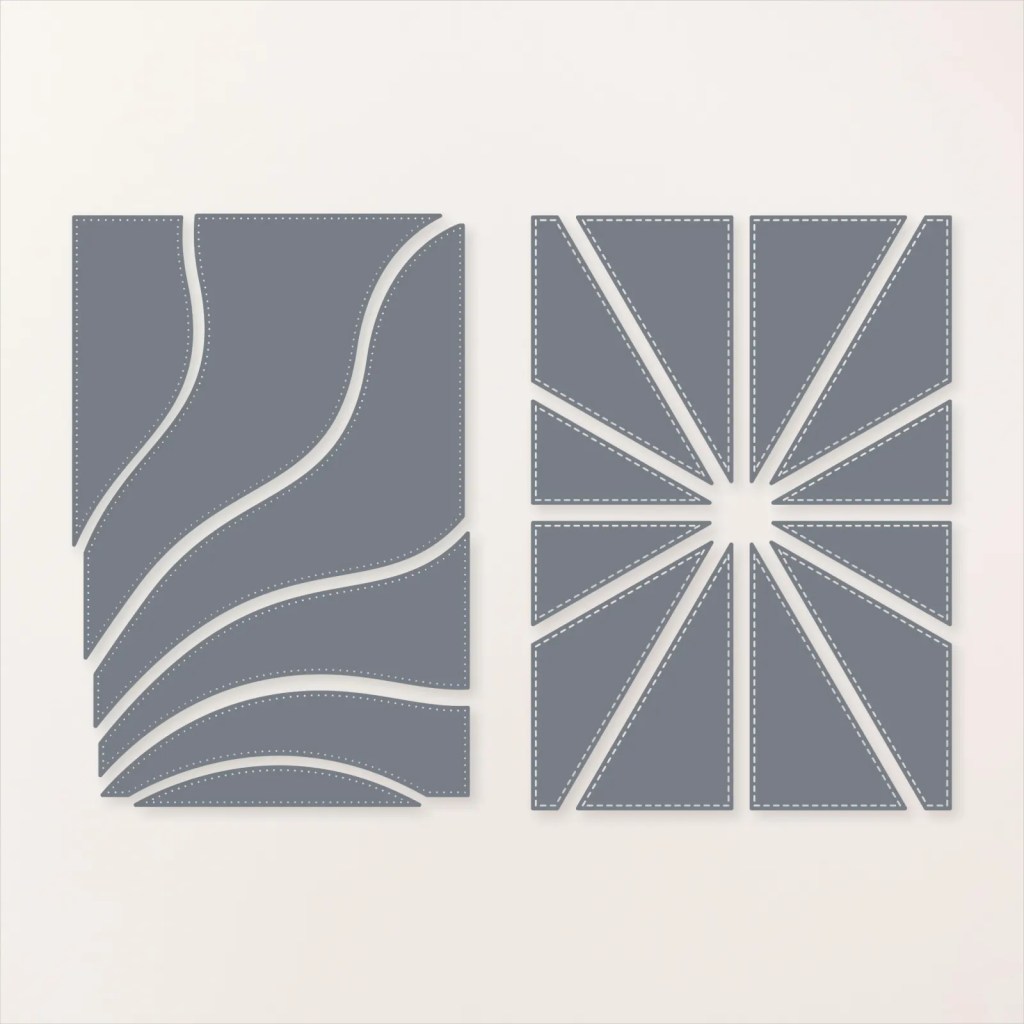
These dies looked like fun – so I had to use them.
To make this project, you’ll need the following supplies:
- Cardstock/Paper: Garden Green (5 ½” x 8 ½”, scored at 4 ¼” and scraps), Fresh as a Daisy 12” x 12” DSP (4” x 3 ¼”), Early Espresso (4” x 5 ¼”), Basic White (2 pieces at 4” x 5 ¼”), Scrap of Daffodil Delight
- Ink: Early Espresso, Crushed Curry
- Basic Tools: Snips, Trimmer, Adhesives (Glue, Glue Dots, Dimensionals)
- Additional Tools/Supplies: Herringbone Ribbon, Stampin’ Cut & Emboss Machine
- Stamps/Dies: Cheerful Daisies Bundle, Patchwork Pieces Dies
To make this project, follow these steps:
- Crop the panel of DSP using the Patchwork Pieces die (wavy). Adhere these pieces (with a slight border in between the pieces) towards the left side of the Early Espresso panel. Adhere this piece to the card front.
- Stamp your sentiment on the bottom of one piece of Basic White in Early Espresso. Crop this using the label dies from the Cheerful Daisies set. You can also cut out a solid and detailed daisy piece as you run this through the machine. Also, crop a small flower center from the scrap of Daffodil Delight and two sprigs from the Garden Green.
- Using liquid glue, assemble your flower. Put a strip of Seal on the back and attach your two sprigs. Use Dimensionals to adhere the whole flower piece on the card front.
- Run a strip of Seal on the back of the label and adhere a 5-inch piece of the White Herringbone ribbon. Cut the edges of the ribbon as you desire. Adhere this to the card front using Dimensionals.
Here is a video of how I assembled the card:
Here are the links to the products that I used:
Product List")

 Designer Series Paper")


 Herringbone Ribbon")


Thank you so much for stopping by and taking a look at my projects. I’d love to see yours so feel free to drop them in the comments.
Don’t forget to enroll in the Stampin’ Rewards program to build up discounts on your next purchase.
Here are links to my other social media sites – I’d love for you to follow me there, too!
Join my Facebook group
Follow me on Instagram
Follow me on Pinterest
Have a great day – and I hope you get to do something crafty!
Thanks so much for taking a look at this project – I hope you enjoyed it!
Please subscribe if you liked this and want more delivered to your inbox:
Have a happy, crafty day!