Blessings of Home Birthday
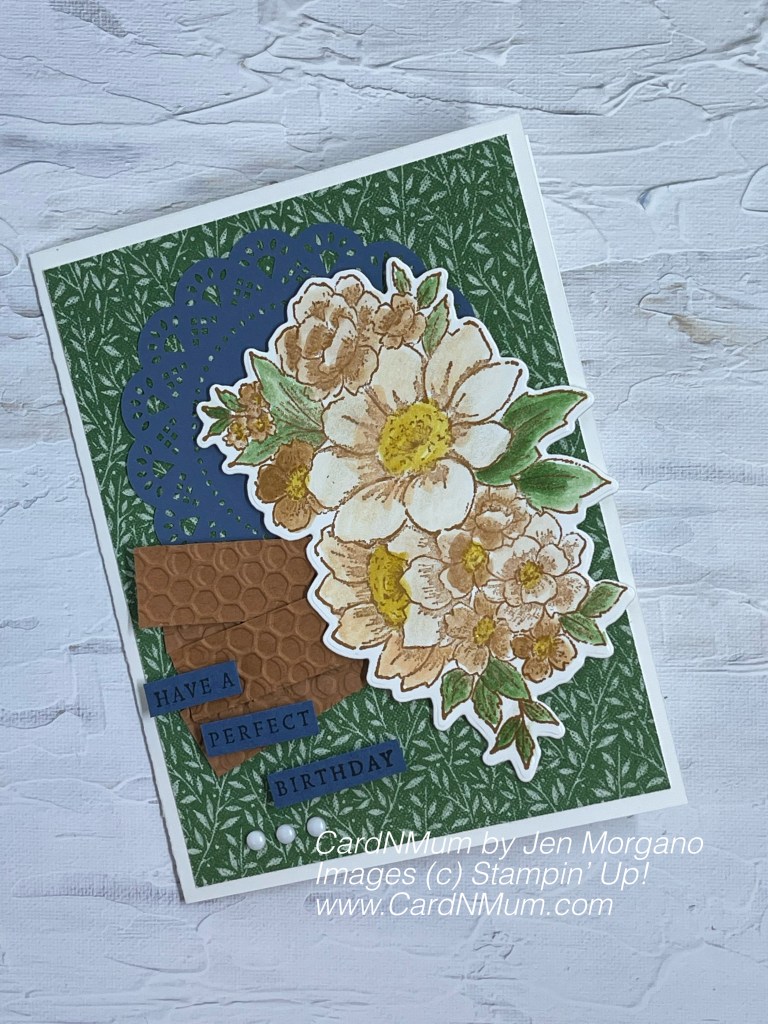
I needed a birthday card recently (well, actually, March has me needing way more than just one….) and I thought about using the Blessings of Home bundle that I first got to play with during the Virtual OnStage event in November. I made the cards along with other demonstrators during the event but then I may have forgotten about this set.
Do you ever buy a set, use it once, and then file it away? Or worse, never use it at all…..yeah, guilty of that quite a few times. I’m trying to work on that fault of mine – so out this set came.
This was a fairly quick card to come together – the most time spent was coloring in the bouquet.
To make this card, you’ll need the following supplies:
- Basic White card stock for the base, 8 1/2″ x 5 1/2″ (scored at 4 1/4″ along the long side)
- 1 piece of DSP cut at 4″ x 5 1/4″ (I used the Garden Green design from the Heart & Home pack)
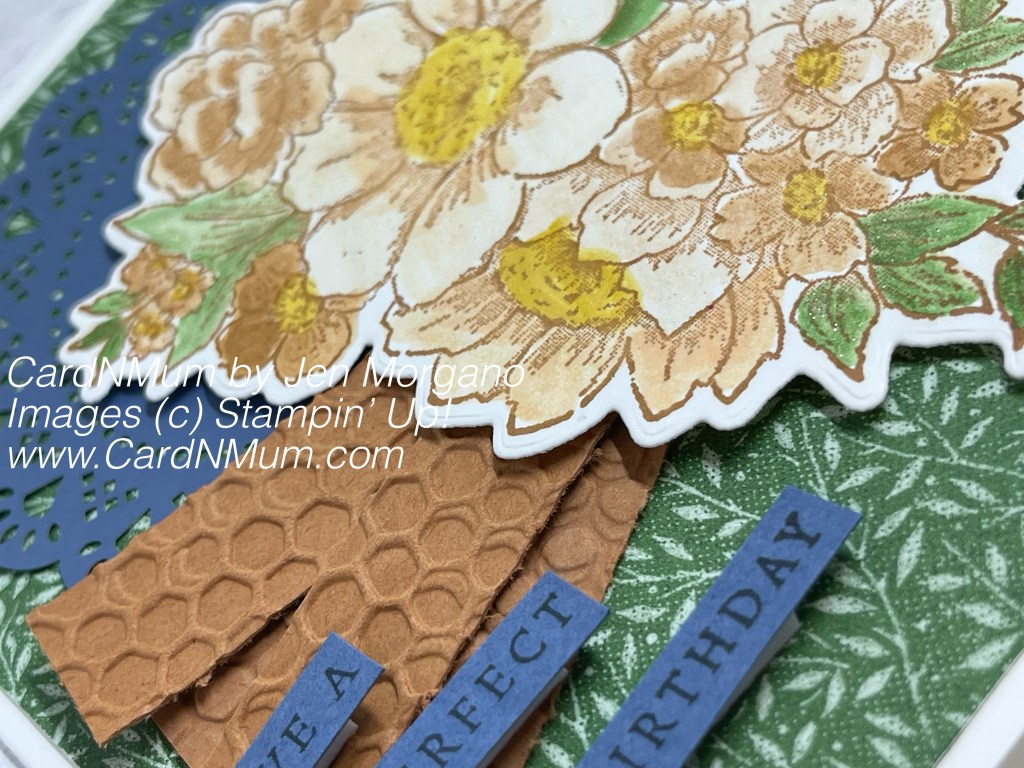
- Basic White for the bouquet piece, scrap of Misty Moonlight for the sentiment, and scraps of Cinnamon Cider for the ‘honeycomb’ pieces
- Inks: Cinnamon Cider, Misty Moonlight, Garden Green, Pale Papaya, and Bumblebee
- Other: Hive 3D Embossing Folder, Classic Matte Dots, Heart & Home Doilies
- Tools/Adhesives: Blender Pens, Wink of Stella, Snips, Trimmer, Stampin’ Cut & Emboss Machine, Dimensionals, Foam Adhesive Strips, Multipurpose Glue and Clear Block E
To assemble the card, here are the general steps:
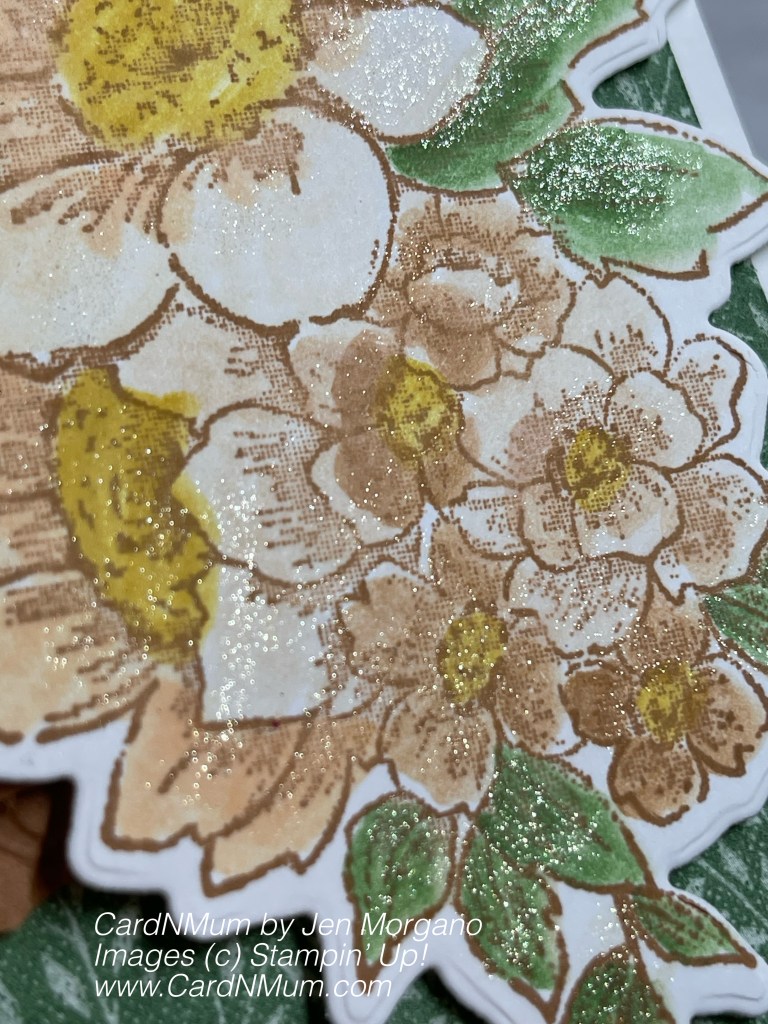
- Stamp your bouquet image in Cinnamon Cider on a piece of Basic White
- Adhere the DSP to the card base using multipurpose glue
- Adhere doilies (I used the Misty Moonlight one) to the upper left corner of the card using glue
- Color in flowers using blender pens. Take the closed ink pad of your choice and squeeze gently in the middle – this will cause the foam pad to make contact with the cover which will deposit a bit of ink. You can swab the blender pen through this, brush on scrap to adjust the color (it’ll be dark right at the get-go), and continue coloring your image. Once the image is to your liking, cut out using die/Stampin’ Cut & Emboss Machine
- Emboss your scraps of Cinnamon Cider (mine were about 1″ x 5″ each) using the Hive 3D folder. I folded these two pieces in half and stapled them together. I adhered this stapled piece to the card front using liquid glue
- Go over the flowers generously with Wink of Stella and adhere to the card front using Dimensionals.
- Stamp the sentiment on a scrap of Misty Moonlight (in Misty Moonlight ink) and closely cropped as shown using snips. Use Adhesive Foam Strips to adhere these pieces.
- Finish off the card by using some Classic Matte Dots for embellishment.
I’ve included links to the products I’ve used below. These links will bring you directly to my online store – thank you for your support.
Product List")
 Designer Series Paper")


Thank you so much for stopping by and taking a look at my projects. I’d love to see yours so feel free to drop them in the comments.
Don’t forget to enroll in the Stampin’ Rewards program to build up discounts on your next purchase.
Here are links to my other social media sites – I’d love for you to follow me there, too!
Join my Facebook group
Follow me on Instagram
Follow me on Pinterest
Have a great day – and I hope you get to do something crafty!
Thanks for looking and if you like what you see, please subscribe:
Happy crafting!