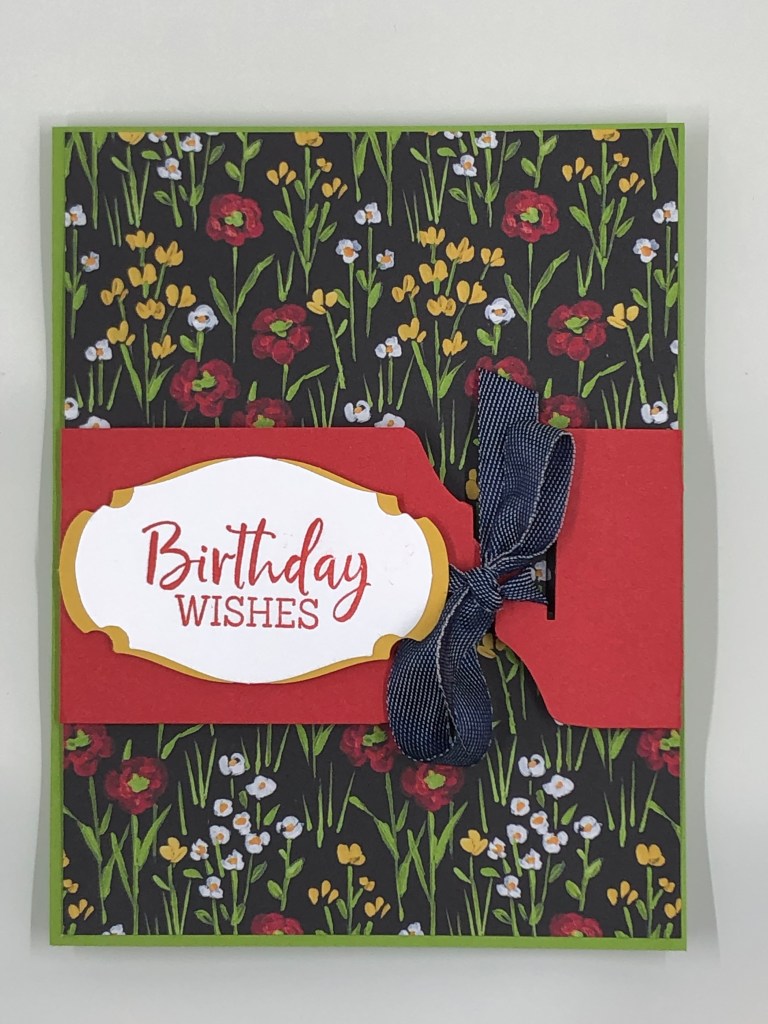
Good Feelings Faker Shaker Card

Shaker cards are definitely one of my go-tos when I need a ‘wow’ card. They are slightly more work than the usual card (well, actually, it depends, haha) but really worth it.
Two or so years ago, while attending a virtual OnStage with other Stampin’ Up! demonstrators, someone demonstrated what I now call – the ‘Faker Shaker’. I want to give this fellow demo credit but when I search the internet, it seems that a lot of others have done the same technique (even with the same stamp/punch set). So – if you remember who demonstrated this technique at that event, drop it in the comments so I can give a shout out.
Well – I love the technique, but I never actually got around to making one. When those new Iridescent Shaker Circles came out in the new annual catalog – a wee light bulb went off in my brain.
To make this project, you’ll need the following supplies:
- Cardstock/Paper: Misty Moonlight (8 ½” x 5 ½”, scored at 4 ¼” on the long side), Masterfully Made DSP (4” x 5 ¼”), Basic White (4” x 5 ¼”)
- Ink: Versamark
- Basic Tools: Snips, Trimmer, Adhesives (Glue, Glue Dots, Dimensionals)
- Additional Tools/Supplies: Black Embossing Powder, Clear Envelope, Foam Adhesive Strips, Iridescent Shaker Circles, Heat Tool, Stampin’ Up Cut & Emboss Machin
- Stamps/Dies: Good Feelings stamp set, Deckled Rectangle dies
To make this project, follow these steps:
- Run the DSP panel through a die-cutting machine using the 3 largest rectangle from the Deckled Rectangle die set.
- Flip therectangle over from the middle that you just cut and stamp the large sentiment in Versamark ink. Cover in black embossing powder and heat set using a heat tool.
- Place this DSP piece inside a clear medium envelope. Fold the envelope behind the DSP piece and crease it with a bone folder. Secure this flap to the back of the envelope using transparent tape.
- Take a few finger-fuls of Iridescent Shaker Circles and place into the envelope (on the front part of the DSP where the sentiment is.) Trim the envelope (see video) and then secure the flap using the adhesive on the envelope.
- Affix this shaker piece to the Misty Moonlight card front using Tear & Tape.
- Place Foam Adhesive Strips on the back of the ‘frame’ (the outer piece of DSP from the first step) and adhere that to the card front.
- Adhere the Basic White panel on the inside as your sentiment panel.
I hope I described the steps okay – if you are scratching your head, take a peek at the video:
Here are the products that I used to make this card – the links will bring you straight to my store:
Product List")


 Designer Series Paper")


")
Thank you so much for stopping by and taking a look at my projects. I’d love to see yours so feel free to drop them in the comments.
Don’t forget to enroll in the Stampin’ Rewards program to build up discounts on your next purchase.
Here are links to my other social media sites – I’d love for you to follow me there, too!
Join my Facebook group
Follow me on Instagram
Follow me on Pinterest
Have a great day – and I hope you get to do something crafty!
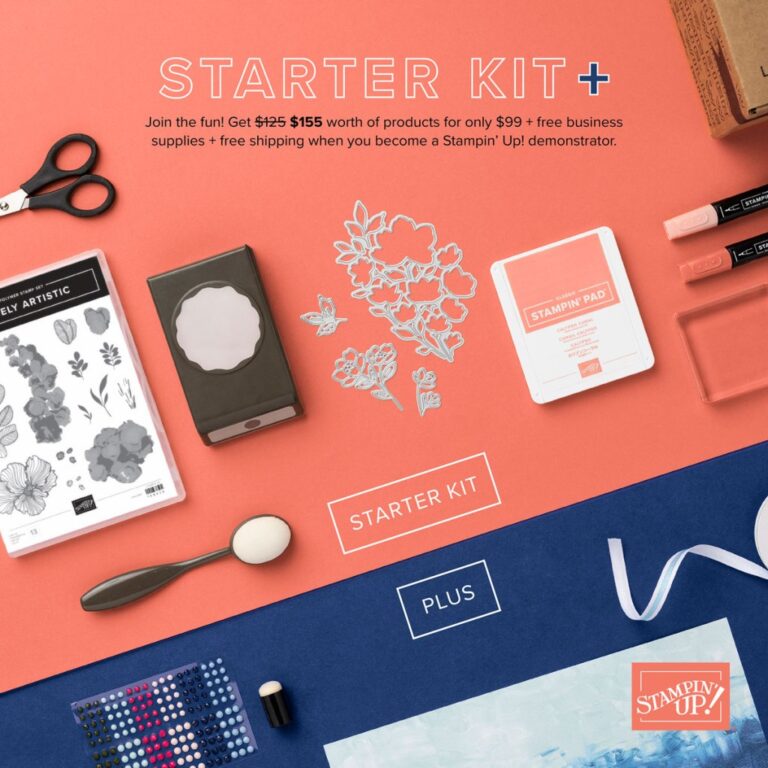
If you are looking at that list of products and want it all, now through the end of October is a great time to join Stampin’ Up!
Option 1: Get 35% OFF the normal cost of a Stampin’ Up! Starter Kit. Those who select this option will receive $125 worth of product for only $64.35!
Option 2: Get 35% MORE product with their Starter Kit. Those who select this option will receive $168.75 worth of product by spending $99 !
It gets better! Those who sign up for a Starter Kit during this offer will also be automatically registered for FREE* to our virtual OnStage event on 11 November—a $77 value!
Whether you want to give being a demo a shot for business reasons or to get that great discount as a ‘hobby’ demonstrator, now is the time to do so. Contact me for more information – or if you’re ready to go, click here to get started.
Thanks so much for stopping by and taking a look – if you like what you see, please share on your social media pages. And please subscribe – you’ll get all of my new projects delivered straight to your inbox.
Have a happy, crafty day!
One Comment