Hello Beautiful Pocket Card
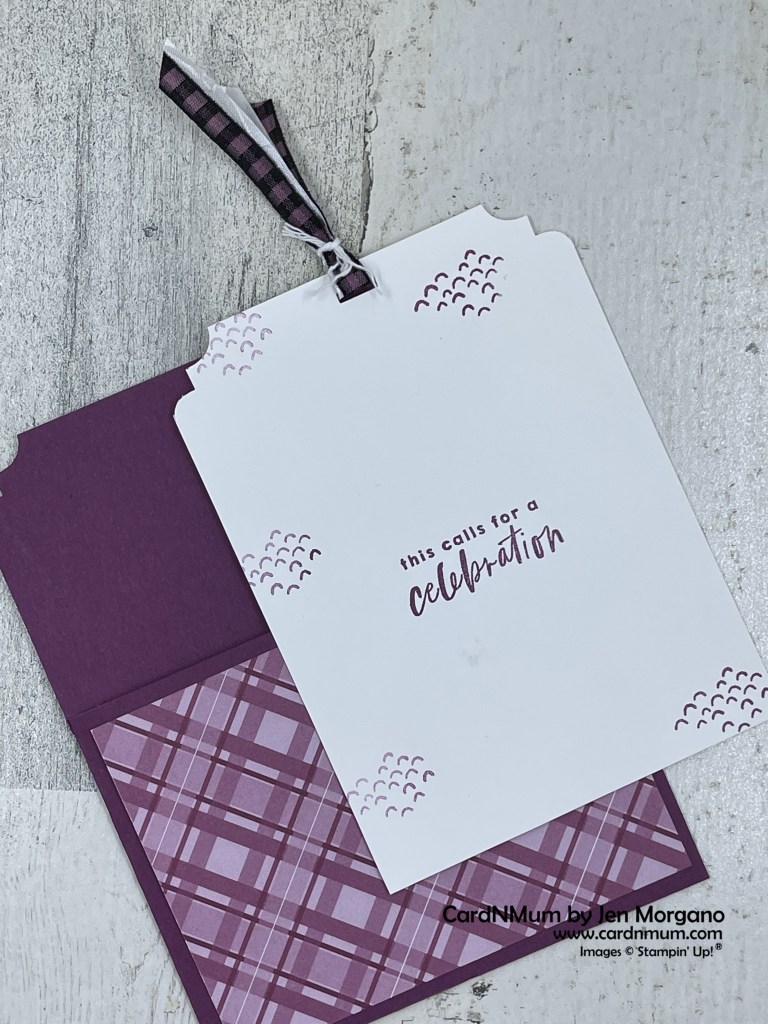
Who says a card has to open up? With some creative cutting, this card becomes a pocket with a writing panel that can be slipped in and out! I chose Rich Razzleberry as my “Adios” color for this project.
Start with a card base cut at 5 1/2″ x 8 1/2″. Score at 4 1/4″ along the 8 1/2″ side. Burnish well. Open the card insert into your Stampin’ Trimmer with the score running horizontally. Slide the edge of the card to 3 1/2″ – cut down to the score line. Using the trimmer or your snips, remove the smaller panel.
Use Tear & Tape along the bottom and outer edge of your card front; close the card up. I decorated the front using a piece of Regals Designer Series Paper. This will form a pocket for your writing panel (which will be a piece of Basic White cardstock cut at 3 3/4″ x 5″. Stamp the sentiment and patterns in Rich Razzleberry ink.
Using the Very Best Trio punch, notch out the top of the card base and writing panel. Then add a ribbon hole to the top of the writing panel. Take 7″ lengths of both Black & White Gingham and Whisper White Crinkled Seam ribbon. Color in the Black & White Gingham ribbon using a Rich Razzleberry Stampin’ Blend. Thread both pieces through the ribbon hole and tie with a small piece of white Baker’s Twine.
I have never made a pocket card before – I think I’m going to make more….
Here are the products that I used to create this card:
Product List")


 Designer Series Paper")


 Gingham Ribbon")
 Crinkled Seam Binding Ribbon")


Thank you so much for stopping by and taking a look at my projects. I’d love to see yours so feel free to drop them in the comments.
Don’t forget to enroll in the Stampin’ Rewards program to build up discounts on your next purchase.
Here are links to my other social media sites – I’d love for you to follow me there, too!
Join my Facebook group
Follow me on Instagram
Follow me on Pinterest
Have a great day – and I hope you get to do something crafty!
Thanks for looking – make one of these and drop it in the comments. I’d love to feature your work – I thank you so much for your support; it means so much! Have a happy, crafty day!