Backpack Gift Card Holder

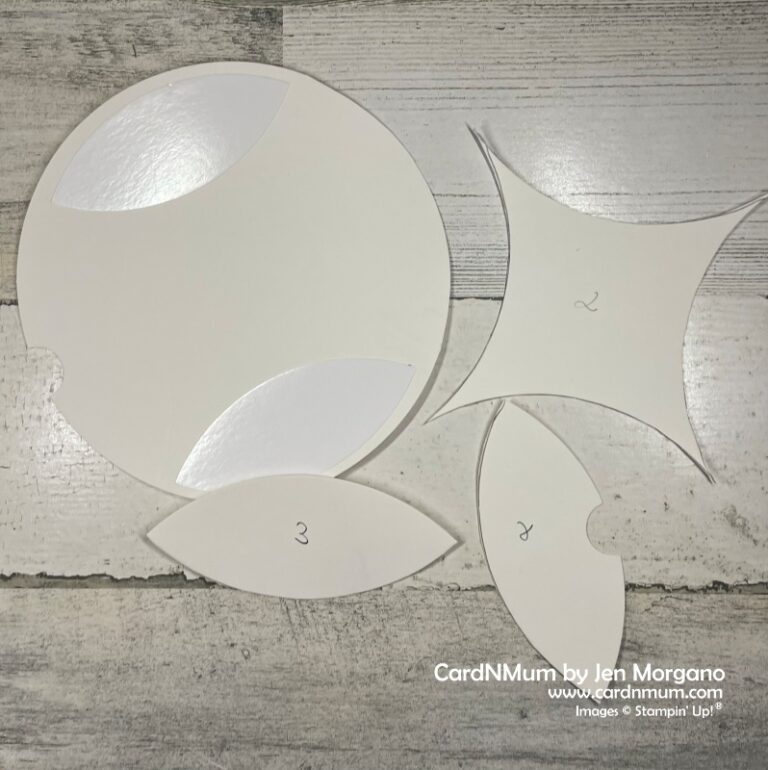
I caught a Paper Pixie Tutorial a bit ago on YouTube where Julie DiMatteo makes this awesome backpack. I thought they’d make a great end-of-year gift for my kiddos’ teachers. I just had to make that front pouch fit a gift card. I used the bulk of Julie’s tutorial but modified it a bit to make that front pouch a bit bigger.
Here are the measurements for the paper you’ll need:
Cardstock:
- 8″ x 11″
- On long side, score at 3 3/4″, 5 1/4″, 9″, and 10 1/2″
- On short side, score at 1 1/2″, 6″, and 6 1/2″
- On long side, between the second and third horizontal line, socre at 4 1/2″ and 9 3/4″ (watch my video, it’ll make more sense – haha)
- 4 1/2″ x 8 1/2″
- On long side, score at 3 1/2″, 4″, 7 1/2″, and 8″
- On short side, score at 1/2″, 3″, and 3 1/2″
- (2) 6 1/2″ x 1/2″ pieces scored at 1/2″ in from either side
- (1) 4 1/2″ x 1/2″ piece scored at 1″ in from either side
Designer Series Paper: 1 piece at 1 3/8″ x 3 5/8″, 1 piece at 7/8″ x 3 3/8″
I hope you enjoy this product – the video will walk you through the assembly steps. If you have any questions, please message me.
Thank you so much for stopping by and taking a look at my projects. I’d love to see yours so feel free to drop them in the comments.
Don’t forget to enroll in the Stampin’ Rewards program to build up discounts on your next purchase.
Here are links to my other social media sites – I’d love for you to follow me there, too!
Join my Facebook group
Follow me on Instagram
Follow me on Pinterest
Have a great day – and I hope you get to do something crafty!

Love this backpack! I want to make one for the bus driver, LOL who sees more backpacks than the bus driver! Thanks for the great details! Mary Ann
What a great idea!! And you are so welcome – drop a picture in the comments when you make one – I’d love to see it!