Thankful Garden Scrapbook Layout

Last Friday, I had my first session of the “Anything But a Card Class.” One of our projects was this easy and quick scrapbook layout. A lot of us are dipping our toes into the scrapbook water so I thought a pretty (but simple) layout was in order.
I started with a 12″ x 12″ piece of White Willow. I then cut a piece of Two-Tone cardstock in Garden Green down to 10 1/2″ x 10 1/2″ and adhered that to my Willow White. I cut a piece of Crushed Curry cardstock down to 8 1/2″ x 8 1/2″ and adhered that on top of the Garden Green. I took a 3″ x 12″ piece of the Lovely Garden Designer Series Paper and notched out a banner at its end. I adhered that to the left of the page.
My photo ‘frame’ is a piece of Basic Black cardstock cut at 4 1/4″ x 6 1/4″ to accommodate a 4″ x 6″ photo. I put my down in Portrait but you could easily put it down in Landscape – it would just cover your DSP banner a bit. Before I glued that piece of Basic Black down, I took some leaf sprigs that cut out using some Two-Tone Garden Green. I used both sides of the paper for a nice contrast. I glued two of those sprigs down in the upper left corner of where my frame would be. I then adhered my frame down and then the last sprig on top of the frame. For fun, you can add a Dimensional to the backs of one of these top layers of leaf sprigs so that it pops up a bit.
The flower in the lower left was stamped in Memento Tuxedo Black and colored using Fresh Freesia and Daffoldil Delight Blends. I used some ink from my Garden Green ink pad and a blender pen for the stems and leaves of this image. I cut it out using my Stampin’ Cut & Emboss Machine and the coordinating die. I’ll adhere that on the lower left corner on top of the photo (once I choose one – haha).
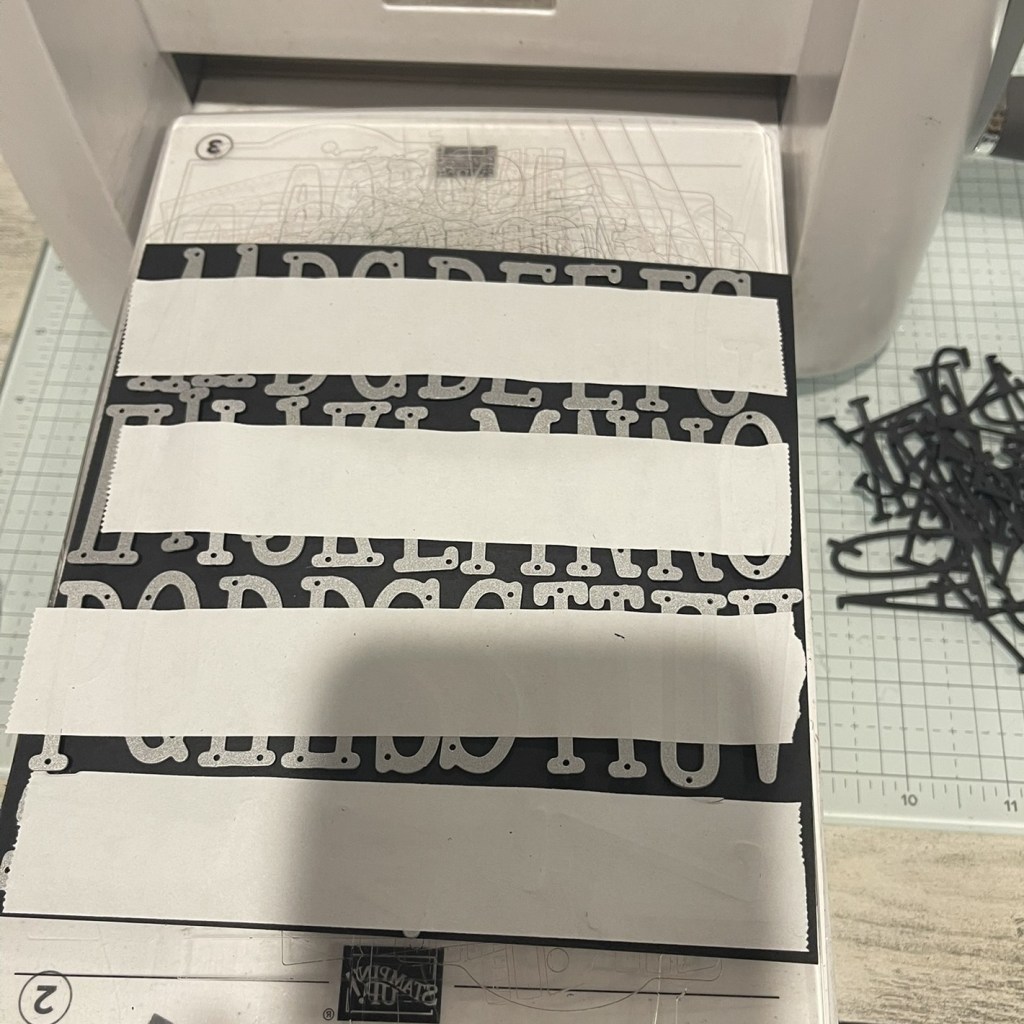
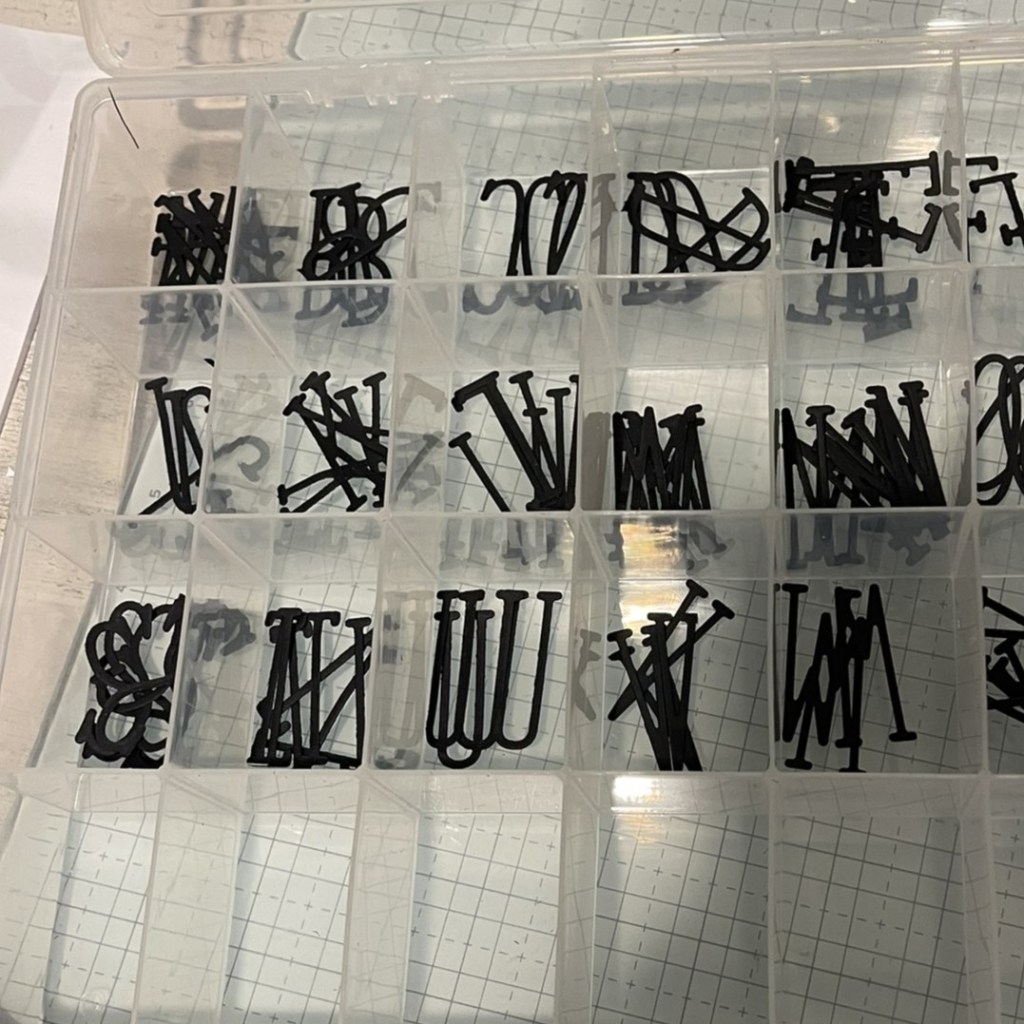
I chose the word ‘family’ as the title to this scrapbook layout. I used the Alphabet A La Mode dies and cut my letters out. I laid them on the page where I wanted them and then covered with a piece of masking paper. I flipped it over, put some glue on the backs of the letters, flipped them back over and placed them on the page.
I also used Masking Paper to help me mass produce these letters (as I realized it’s going to be a pain to always whip these out and cut -haha):
The scrapbook bug has definitely got me – watch out, here I come!! haha
Here are the products that I used to create this really quick layout – would you use them or something in your own stash? Let me know in the comments
Product List![Thankful Garden Bundle (English) [ 165534 ]](https://assets1.tamsnetwork.com/images/EC042017NF/165534s.jpg "Thankful Garden Bundle (English) [ 165534 ]")
![White Willow 12" X 12" (30.5 X 30.5 Cm) Cardstock [ 166703 ]](https://assets1.tamsnetwork.com/images/EC042017NF/166703s.jpg "White Willow 12\" X 12\" (30.5 X 30.5 Cm) Cardstock [ 166703 ]")
![Garden Green 12" X 12" (30.5 X 30.5 Cm) Two Tone Cardstock [ 166665 ]](https://assets1.tamsnetwork.com/images/EC042017NF/166665s.jpg "Garden Green 12\" X 12\" (30.5 X 30.5 Cm) Two Tone Cardstock [ 166665 ]")
![Crushed Curry 8-1/2" X 11" Cardstock [ 131199 ]](https://assets1.tamsnetwork.com/images/EC042017NF/131199s.jpg "Crushed Curry 8-1/2\" X 11\" Cardstock [ 131199 ]")
![Basic Black 8-1/2" X 11" Cardstock [ 121045 ]](https://assets1.tamsnetwork.com/images/EC042017NF/121045s.jpg "Basic Black 8-1/2\" X 11\" Cardstock [ 121045 ]")
![Lovely Garden 12" X 12" (30.5 X 30.5 Cm) Designer Series Paper [ 165524 ]](https://assets1.tamsnetwork.com/images/EC042017NF/165524s.jpg "Lovely Garden 12\" X 12\" (30.5 X 30.5 Cm) Designer Series Paper [ 165524 ]")
![Garden Green Classic Stampin' Pad [ 147089 ]](https://assets1.tamsnetwork.com/images/EC042017NF/147089s.jpg "Garden Green Classic Stampin' Pad [ 147089 ]")
![Fresh Freesia Stampin' Blends Combo Pack [ 155518 ]](https://assets1.tamsnetwork.com/images/EC042017NF/155518s.jpg "Fresh Freesia Stampin' Blends Combo Pack [ 155518 ]")
![Tuxedo Black Memento Ink Pad [ 132708 ]](https://assets1.tamsnetwork.com/images/EC042017NF/132708s.jpg "Tuxedo Black Memento Ink Pad [ 132708 ]")
![Alphabet à La Mode Dies [ 160750 ]](https://assets1.tamsnetwork.com/images/EC042017NF/160750s.jpg "Alphabet à La Mode Dies [ 160750 ]")
![Blender Pens [ 102845 ]](https://assets1.tamsnetwork.com/images/EC042017NF/102845s.jpg "Blender Pens [ 102845 ]")
![Multipurpose Liquid Glue [ 110755 ]](https://assets1.tamsnetwork.com/images/EC042017NF/110755s.jpg "Multipurpose Liquid Glue [ 110755 ]")
![Stampin' Dimensionals [ 104430 ]](https://assets1.tamsnetwork.com/images/EC042017NF/104430s.jpg "Stampin' Dimensionals [ 104430 ]")
![Paper Trimmer [ 152392 ]](https://assets1.tamsnetwork.com/images/EC042017NF/152392s.jpg "Paper Trimmer [ 152392 ]")
![Stampin' Cut & Emboss Machine [ 149653 ]](https://assets1.tamsnetwork.com/images/EC042017NF/149653s.jpg "Stampin' Cut & Emboss Machine [ 149653 ]")
![Clear Block Bundle [ 165674 ]](https://assets1.tamsnetwork.com/images/EC042017NF/165674s.jpg "Clear Block Bundle [ 165674 ]")
![Stampin' Up! Masking Paper [ 155480 ]](https://assets1.tamsnetwork.com/images/EC042017NF/155480s.jpg "Stampin' Up! Masking Paper [ 155480 ]")
Thank you so much for stopping by and taking a look at my projects. I’d love to see yours so feel free to drop them in the comments.
Don’t forget to enroll in the Stampin’ Rewards program to build up discounts on your next purchase.
Here are links to my other social media sites – I’d love for you to follow me there, too!
Join my Facebook group
Follow me on Instagram
Follow me on Pinterest
Have a great day – and I hope you get to do something crafty!