Sending Smiles Thank You Card

This sweet thank you card used the Countryside Blossoms embossing folder, some spring colors, and the great Sending Smile stamp set (with Sending Dies).
To make this project, you’ll need the following supplies:
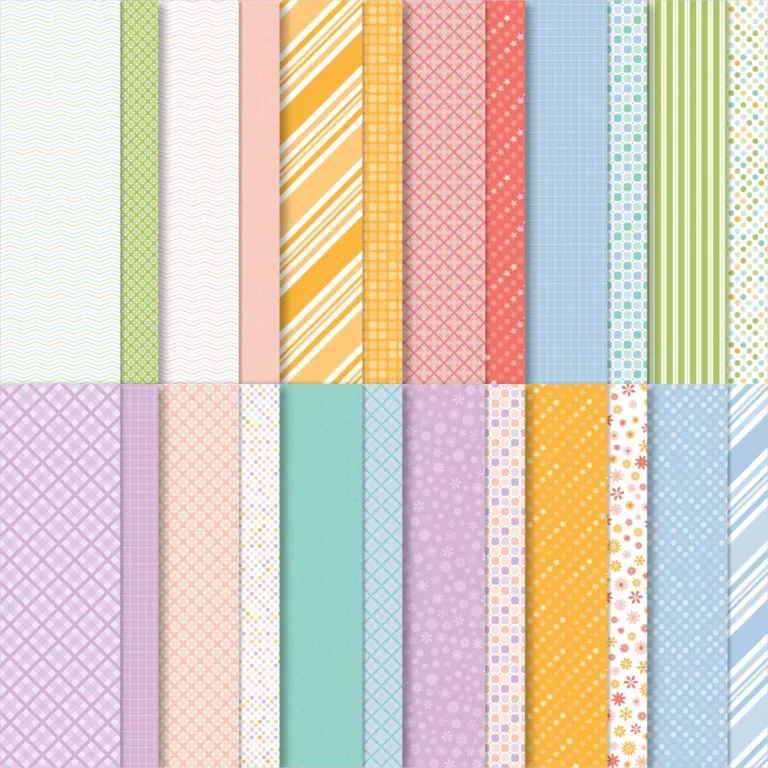
- Cardstock/Paper: Starry Sky (4 ¼” x 11”, scored at 5 ½”, and a scrap) Balmy Blue (4” x 5 ¼”), scraps of Basic White, Fresh Freesia, and Soft Seafoam
- Ink: Starry Sky, Bubble Bath, Lemon Lolly
- Basic Tools: Snips, Trimmer, Adhesives (Glue, Glue Dots, Dimensionals)
- Additional Tools/Supplies: Pastel Sequins, Countryside Blossoms Embossing Folders; Balmy Blue/White Variegated Ribbon; Stampin’ Cut & Emboss Machine (Regular)
- Stamps/Dies: Sending Smiles Stamp Set and Sending Dies
To make this project, follow these steps:
- Stamp the two flower images on scraps of Basic White in Bubble Bath and Lemon Lolly. Cut out using coordinating dies
- Stamp the sentiment on a scrap of Basic White and cut out using coordinating label die
- Cut out stem (Soft Seafoam) and the two ‘sending’ words (Fresh Freesia, Starry Sky); use glue to adhere the thin ‘sending’ piece to the larger ‘sending’ piece – don’t forget the dot for the ‘I’
- Emboss the Balmy Blue panel using the Countryside Blossoms Embossing Folder
- Wrap a length of Balmy Blue/White Variegated Ribbon around the Balmy Blue panel and secure on the back with adhesive. Then adhere this panel to the card base.
- Glue the stem of the flower so that the bottom tucks under the ribbon. Adhere the smaller flower with glue and the larger flower with a Dimensional.
- Adhere the ‘sending’ piece using Dimensionals (over the top of the ribbon)
- Adhere the sentiment label below the ribbon using glue
- Finish the card off with some Pastel Sequins
I went with spring colors – do you like them? What other color combos would you use?
Here are all the products that I used – the links will bring you straight to my online store:
Product ListThank you so much for stopping by and taking a look at my projects. I’d love to see yours so feel free to drop them in the comments.
Don’t forget to enroll in the Stampin’ Rewards program to build up discounts on your next purchase.
Here are links to my other social media sites – I’d love for you to follow me there, too!
Join my Facebook group
Follow me on Instagram
Follow me on Pinterest
Have a great day – and I hope you get to do something crafty!
Thanks so much for looking and if you like what you see, please subscribe so that you can get all my projects delivered straight to you inbox.
Have a happy, crafty day!


